
How to Create a New Provider in Medisoft
Follow these step-by-step instructions down below to create a new provider in Medisoft. If you need additional help, feel free to contact us!
Enter provider records in the Provider List. To do so:
1. On the Lists menu, point to Provider and click Providers. The Provider List appears.
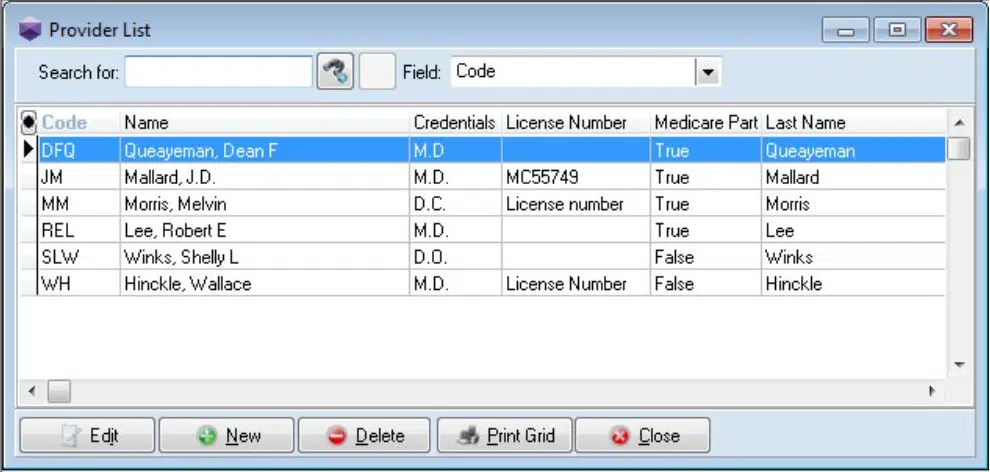 This window shows you all of the providers currently set up in the practice.
2. Click the New button.
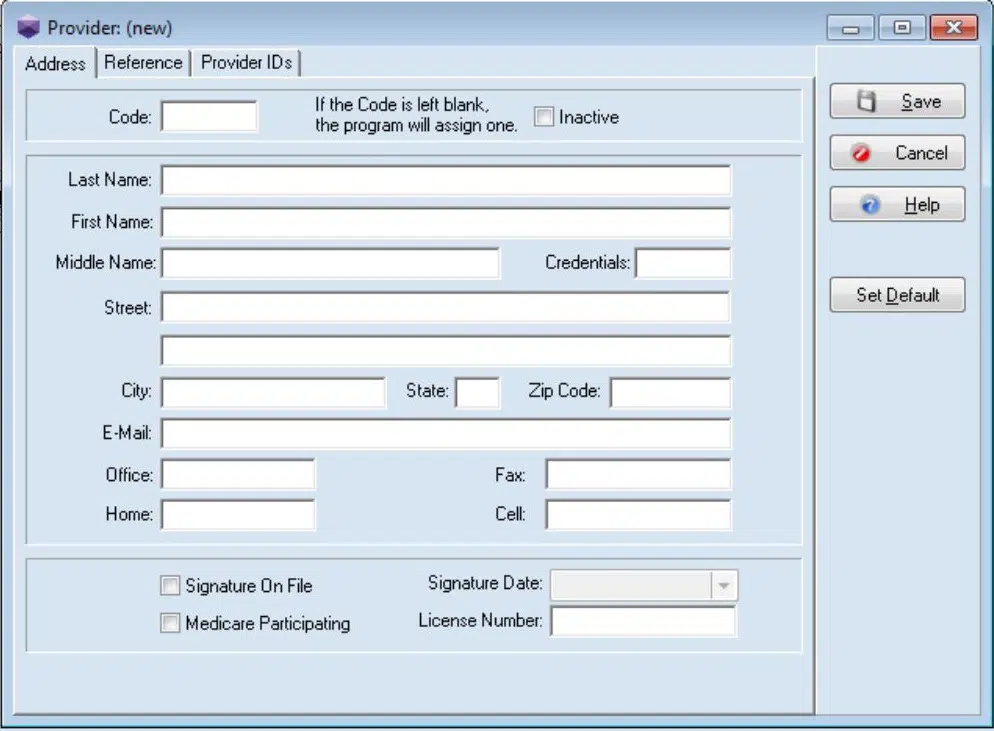 On the Address tab, enter demographic information for the provider such as last name, first name, address, etc.
3. Options:
Select the Medicare Participating check box if the provider is considered a Medicare participating provider. A Medicare participating provider agrees to accept assignment on all Medicare claims for covered services and supplies. This field is generally used with electronic claims.
Select the Signature on File check box to indicate that the provider’s signature is on file. Select this box if the provider has signed an agreement with Medicare to accept its charges and an affidavit is on file. If it is checked, the Signature Date field becomes active to display the date on which the signature was placed on file. Enter a date in this field.
4. In the License Number field, enter the provider’s license number.
5. Click the Save button if you are finished with the record or click the Reference tab.
The Reference tab displays data and values before the data was converted to Medisoft v24 and moved to the Provider IDs grid to create rules for claim creation (if you started out on an older version). The tab shows data from the Default Pins and Default Group IDs tabs, which were replaced with the Provider IDs tab.
This tab is mostly used for reference purposes only. You can update data on this tab for your reference purposes, but none of this data is pulled for claim generation. The only field that still impacts claims is Provider Class.
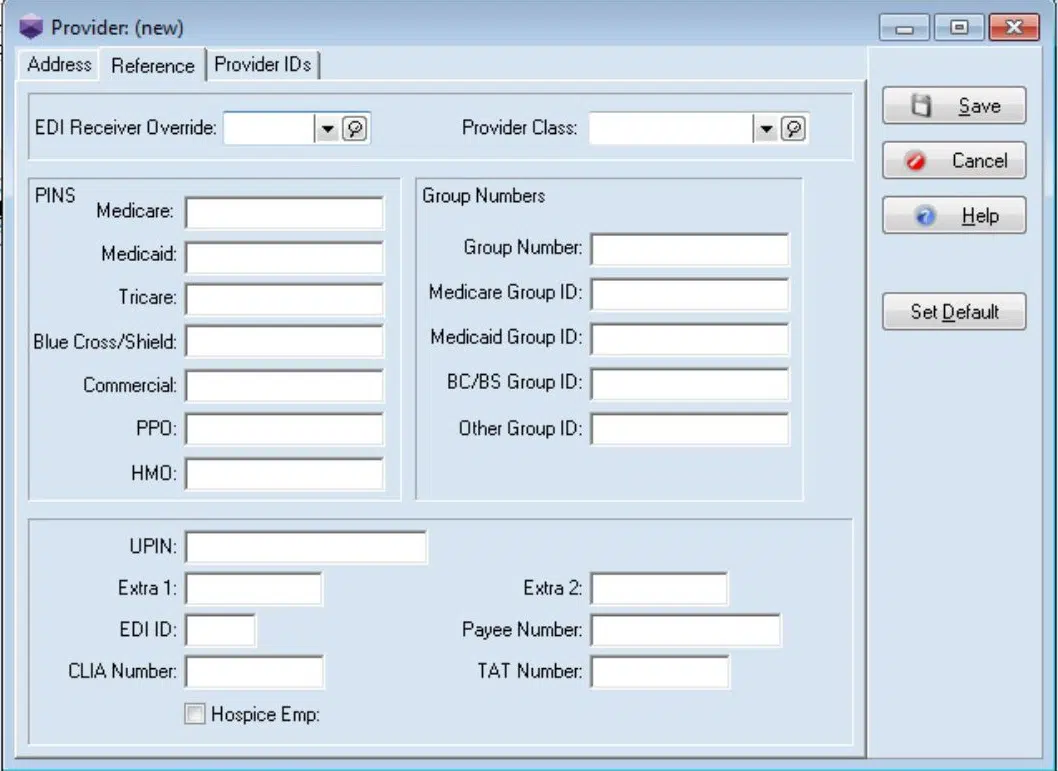 6. Assign a provider to a provider class by clicking the Provider Class list and selecting a class.
7. Click the Save button once you’ve entered all the relevant data for the new provider.
See our walk-through video below:
